HDR Photography
What is HDR?
Definition: High Dynamic Range, or HDR, is a digital photography technique whereby multiple exposures of the same scene are layered and merged using image editing software to create a more realistic image, or a dramatic effect. The combined exposures can display a wider range of tonal values than what the camera is capable of recording in a single image. (about.com)
What does this mean?
Basically this means instead of taking one picture, multiple pictures are taken from a tripod then blended together to form a single image. This image is a product of its parts, taking information from each of the pictures and putting it all together into one.
Why use HDR?
Simple answer: the images can look amazing. The colors, details and highlights of the different exposures are captured and combined to make a well balanced high-quality photo. In photos looking out a window, the HDR method allows the interior room and outside the window to both be properly exposed, something that can be very difficult and sometimes impossible to achieve with snapping a single exposure.
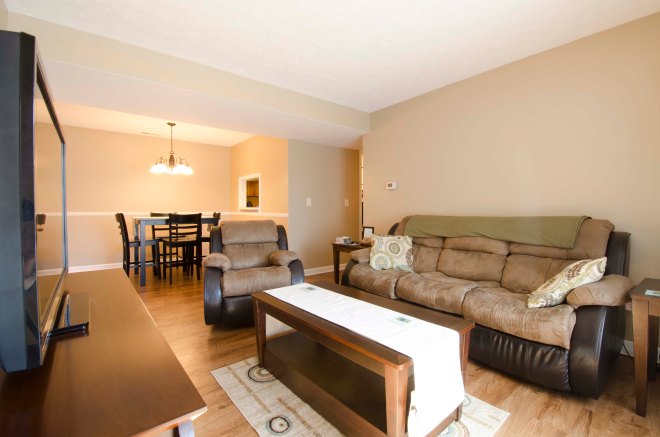
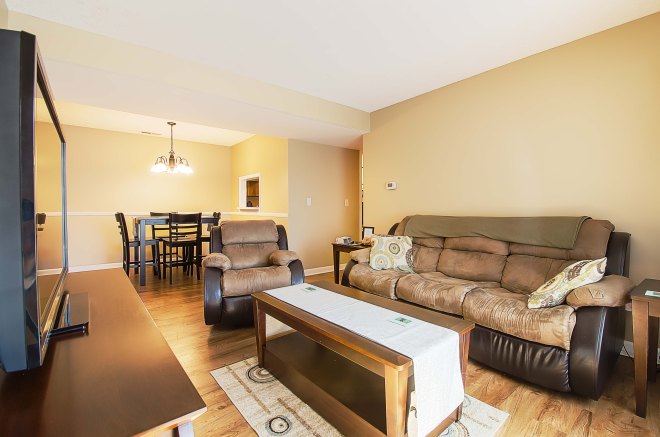
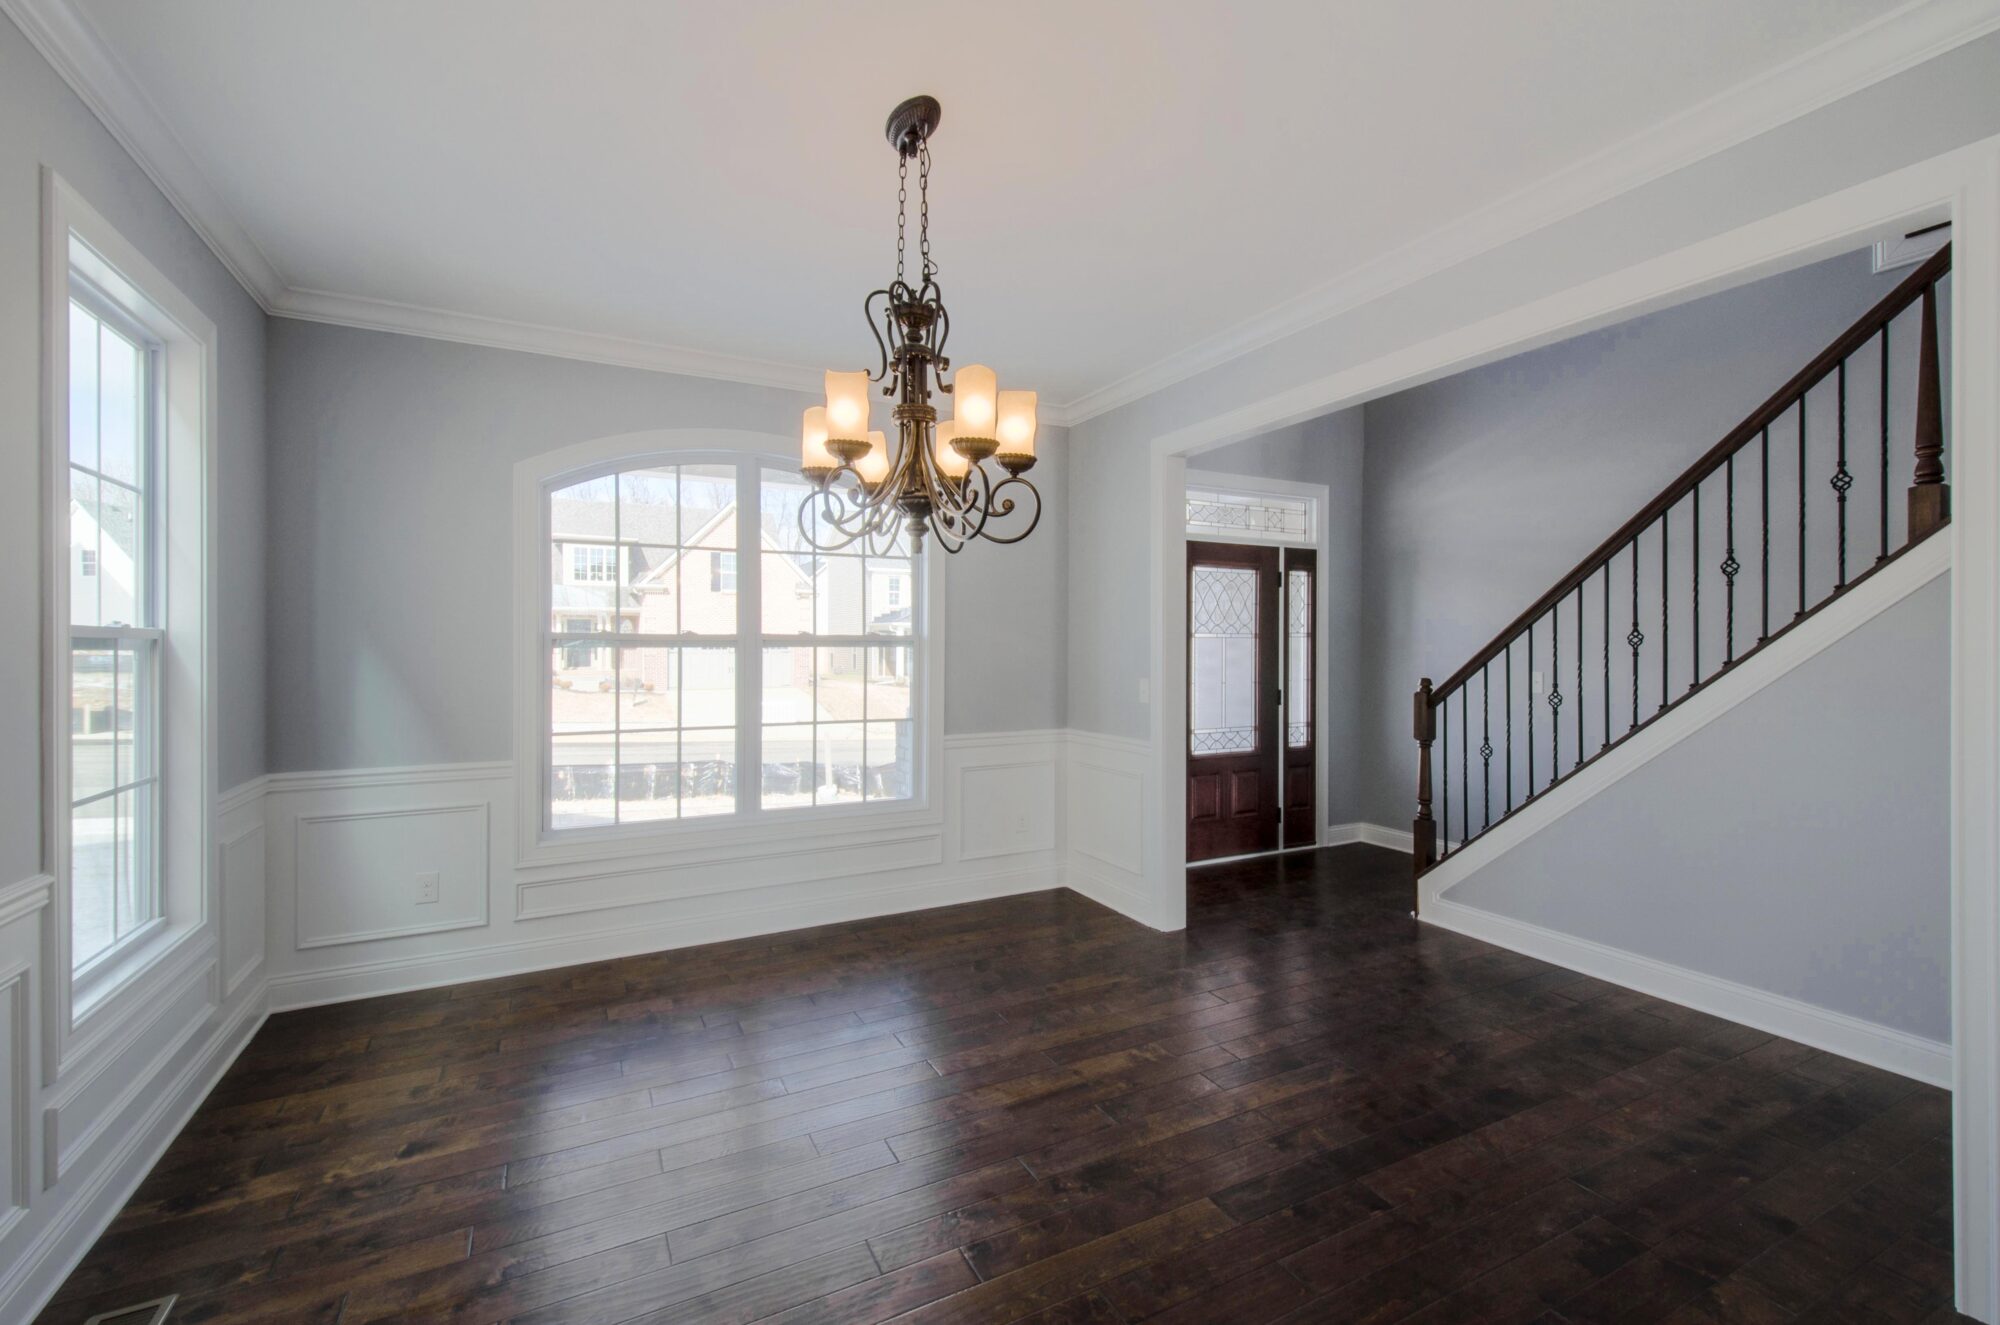
Here’s an example of the difference between a single exposure and an HDR image after blending using Photoshop CC.
Single exposure:

This image was taken and slightly doctored with Photoshop, lightening the inside and leaving the windows the same. This can and does work, but sometimes with too much light outside and not enough inside, even using the best editing techniques in Photoshop can leave a picture lacking balance. Notice how bright the light is coming through the windows. There’s nothing “wrong” with that light, and really nothing wrong with the picture. But getting the picture to look that way via editing, it’s actually changing a little bit of whats actually there. Plus sometimes brightening the image when some of the details are too dark actually leaves out some of the information that should be there.
Using the HDR method smooths out the transition from those extreme highlights of the windows to the darker areas of the room, without losing any of the clarity or details of the picture.
Take the same photograph as above, three different times, changing the shutter speed up two stops and down two stops to get three seperate photos. One will be really dark, one in the middle, and one will be really bright:
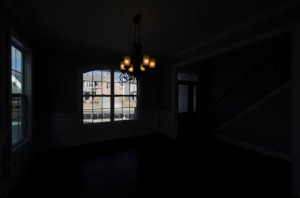
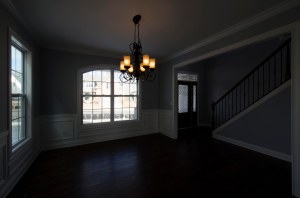

Now using Photoshop the three images are blended together, combining the tones and highlights from each image to make a single HDR Image.
HDR Image:
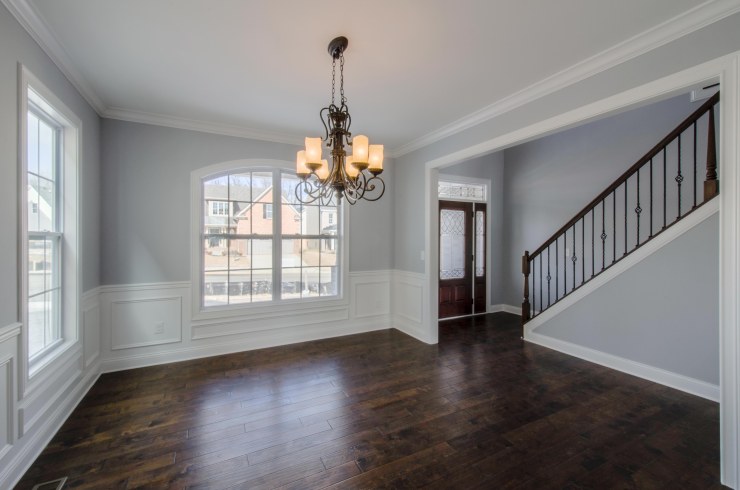
After blending together the three images, there’s still a little work to be done with brightness and clarity. Minimal touch-ups are applied and we’re left with an amazing shot of the dining room. Notice you can see straight through the window and see clearly what’s outside, while the brightness, clarity and detail of the inside isn’t compromised. Speaking of details, one of the effects of using this method is a certain amount of “fuzziness” to the image. This isn’t blurry and it isn’t a bad thing, It’s simply an effect of combining three times the information into a single image. In some situations this can be exaggerated to create really interesting and dramatic pictures, but for Real Estate photography, minimizing this effect keeps the images as realistic as possible.
When looking at the two different photos, try to see the differences in the clarity of the windows, the tone of the light fixture, and the detail of the glass on the front door. There are plenty of differences between the two if you look closely. These are just a few examples of the quality of photograph that can be created using the HDR method.
Compared to single exposure photographs, the editing process to get HDR photos requires a lot more time and work, however for those who appreciate the difference in quality, it’s worth every step. Using the HDR method is simply a different style of photography, and one that can produce some outstanding images.
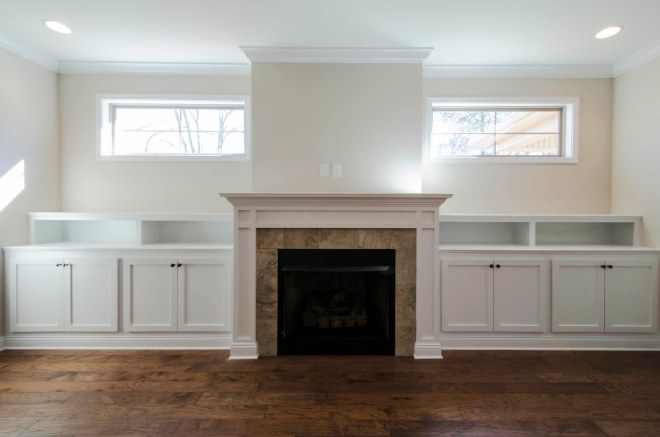
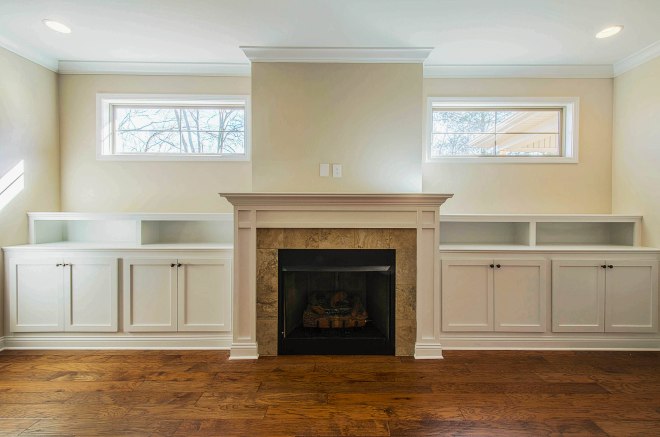
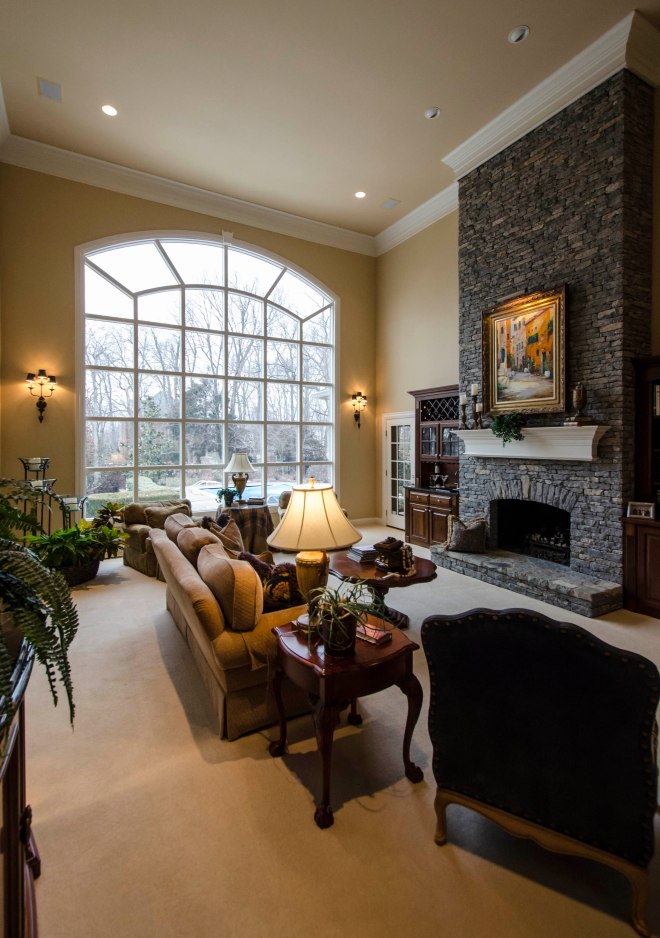
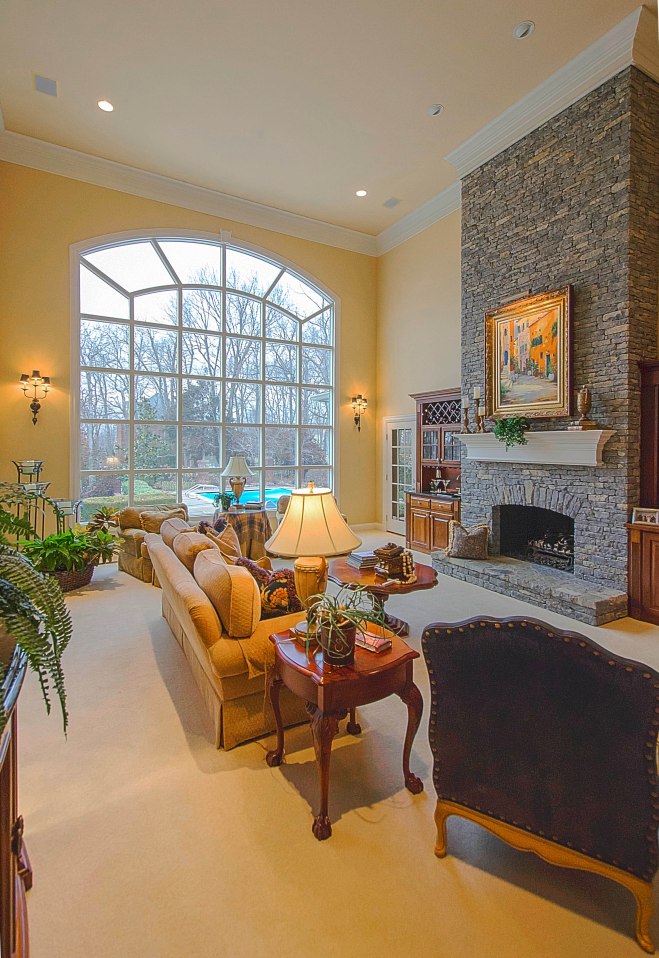
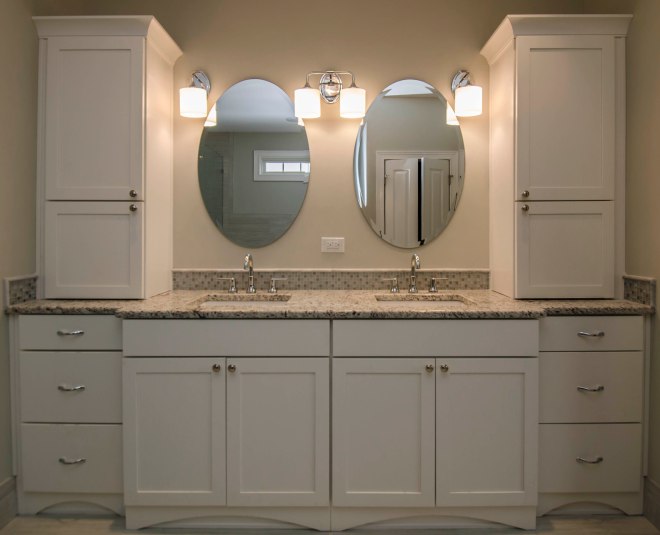
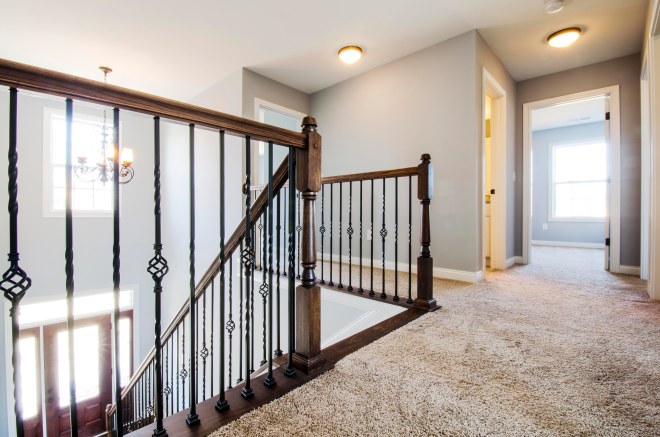
Below are some examples of single exposures v.s. HDR images. Spot the differences in the colors, highlights, shadows and tones.
